

The first die will be over here. You’ll need to come up to this house at the beginning of the map and come around to this wall to break it down. Inside of here you’ll find this die ready for you to pick up.


The second one will be right over here. You’ll enter into Morhaim’s Crop and you’ll need to go down to the right around the stone wall and it’ll be sitting in front of this gravestone.


The third will be in this same sort of area, but over on the left side you’ll need to go up along this other path. Eventually you’ll reach a hole with a “Ya Dead” sign where this die will be sitting.


The fourth one will be over here. In the bone grove you’ll need to come up to this center hill area with a large tree and over on this side of it you’ll see a small ledge where this die will be sitting.


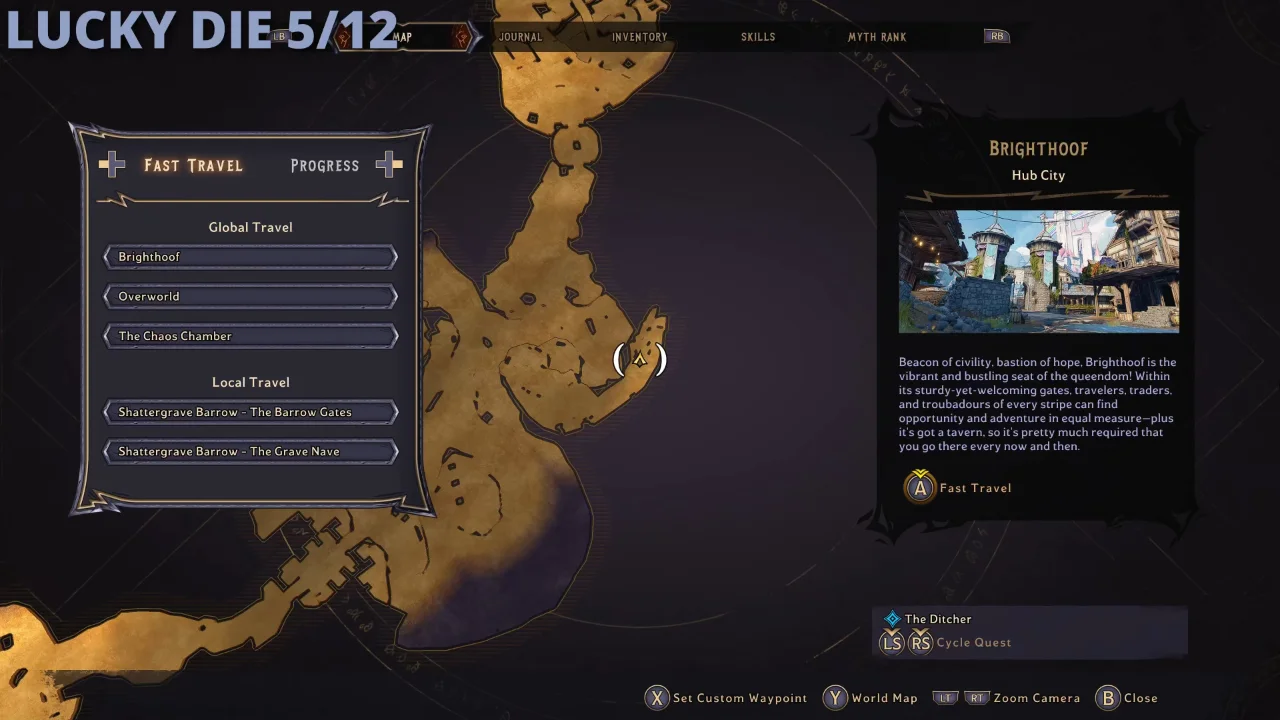
The fifth will be over here. You’ll need to go over to the left side and go up this little area and along this ridge to find a die sitting behind a gravestone.

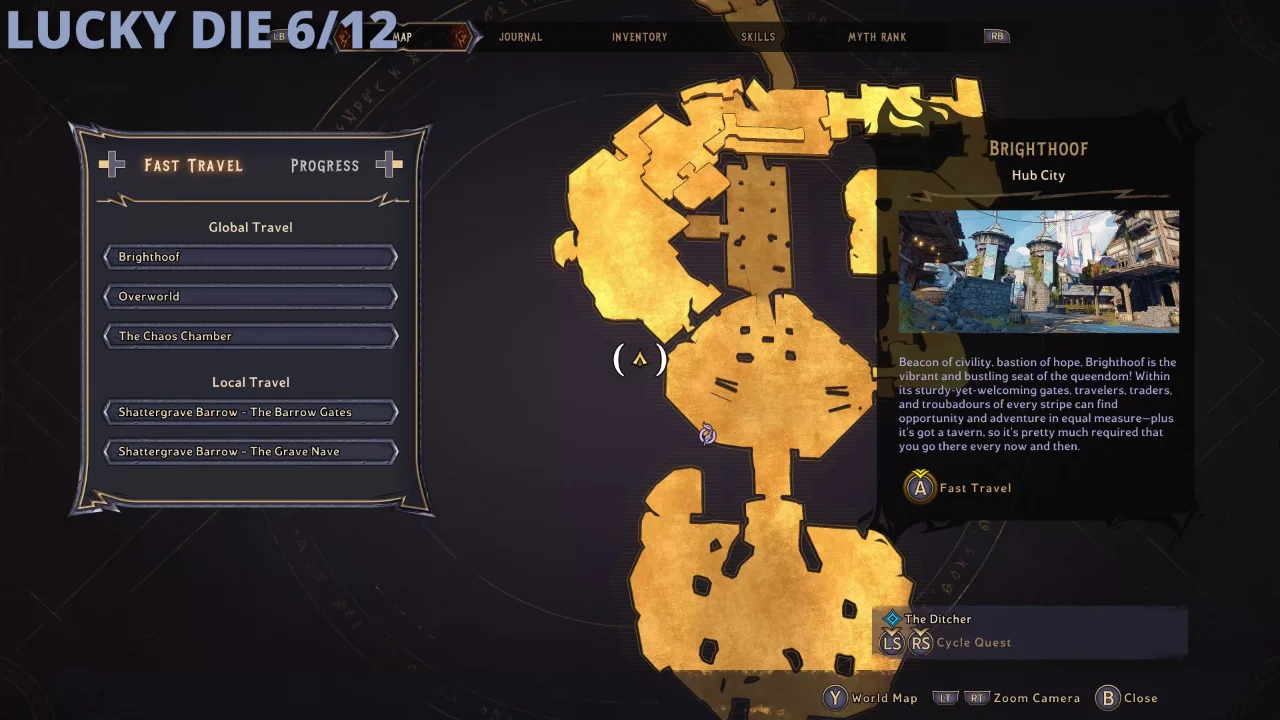
The sixth one will be here. Before you head into the large ruins up here you’re going to want to head over to the left around it and you’ll find this die by this old tree.

The seventh is going to be right over here. You’ll just go into the ruins and head over to the right to break open this wall and grab the die from inside.


The eighth is going to be over here. In the Grave Nave you’ll come over here to this area where you can climb up onto the stone and then over here to pick this one up.


The ninth is over here. Once you come into this room with broken platforms and crabs running around you’ll need to go to the other end and then platform around to this spot where this die will be.


The tenth die will be right over here. This will be right past the area where you get the Tome of Fate. Come out here and when you get to these stairs you’ll walk to the right of them and break some boxes down to reveal this die.


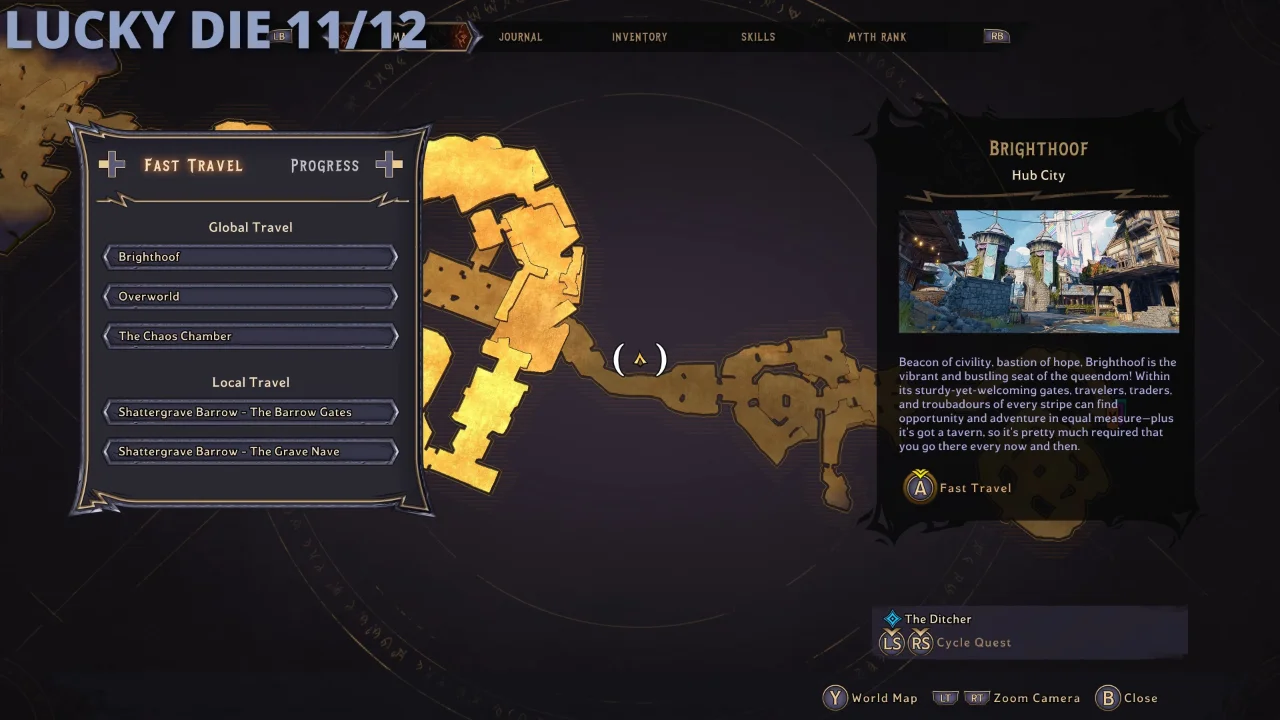
The eleventh is going to be here. While you’re in the Sundercroft you’re going to come down this hallway with traps and as you get to this spot with an axe swinging. Just go into the left side of the wall and this die will be sitting right here.

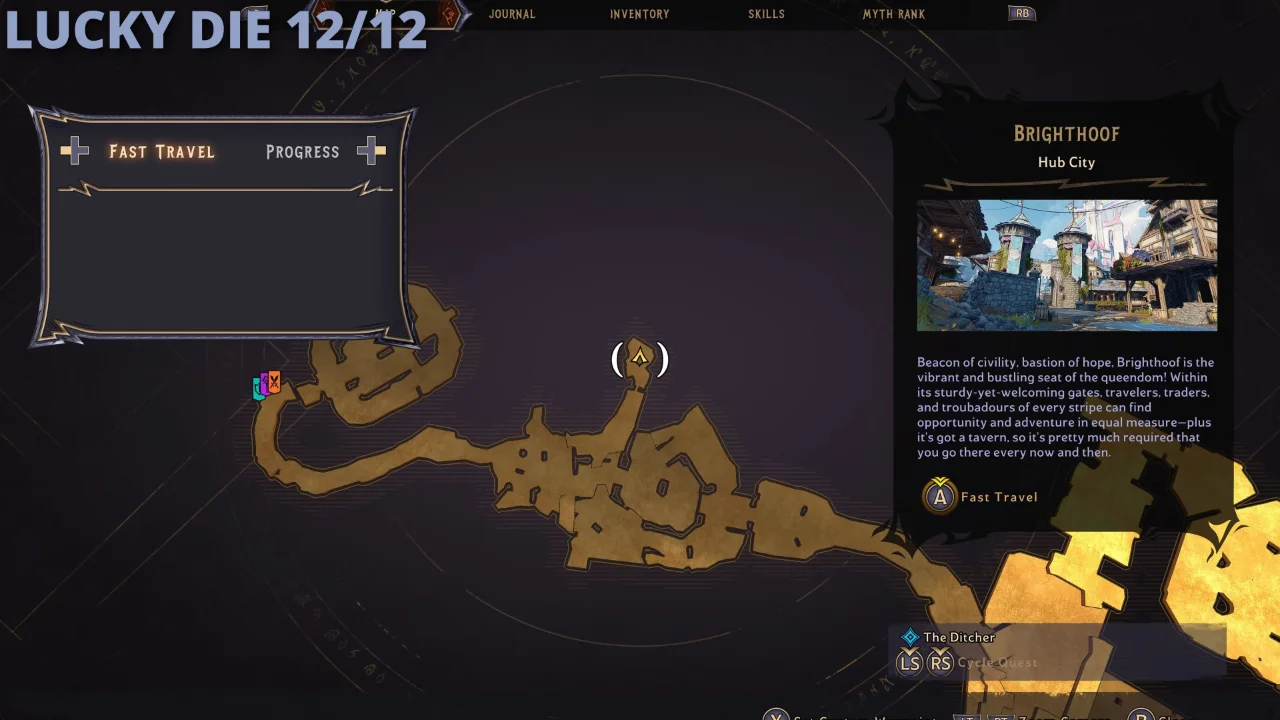
The twelfth and last one will be right here. This one will also be down in the Sundercroft once you get past the traps and enter a larger crypt. Go over to the left up here and you can go through this door to the room with this die.

If you found the video guides helpful be sure to also like, comment, and subscribe over on my YouTube Channel.
I also cover the achievement/trophy guides for many other games so whether it's on Youtube, our website, or Steam check out some of my other guides to help you 100% more games.

Thanks for reading/watching!


